![]()
![]()
Parcel Maintenance
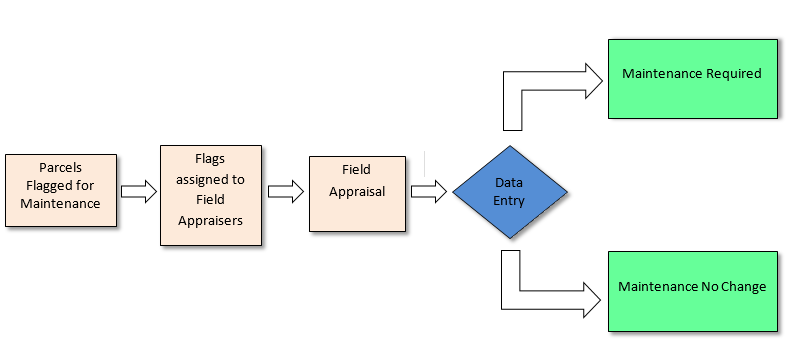
Parcels are required to be reappraised regularly, so each year the county spreads this task out by reappraising a percentage of the county’s parcels. Capture offers Parcel Maintenance as a tool to complete this reappraisal process. After reappraisal, appraisers can take advantage of the Maintenance No Change tool for parcels with no appraisal changes.
Field Appraisers are responsible for creating custom lists to include all parcels that need to be worked within a certain control map as well as create flags for these parcels. Once the list is created and printed Field Appraisers will go into the field and mark any changes to those parcels. After reappraisal, appraisers can take advantage of the Field Appraising tool for parcels that require appraisal changes.
Parcel Maintenance Processing in Capture
Capture allows the user to create a list of parcels to be reappraised by using Maps or Custom List. With Maps parcels in close proximity can be selected all at once, than added to a Custom List. The user is also given the option to create a custom list directly and add parcels to the list manually by conducting a parcel search.

Using Maps
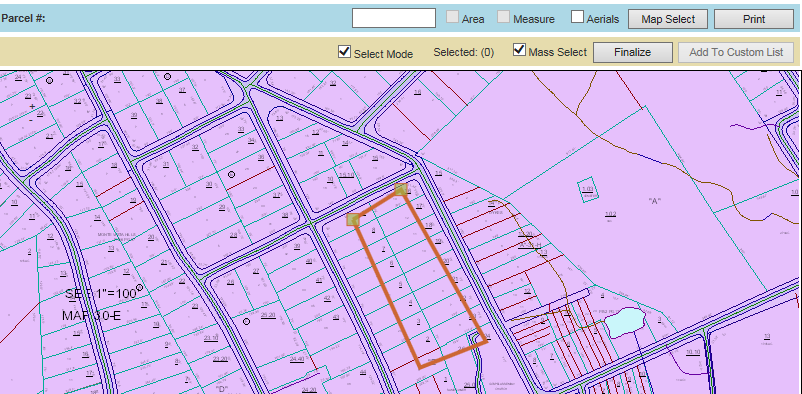
Select the Maps tab on the main workspace
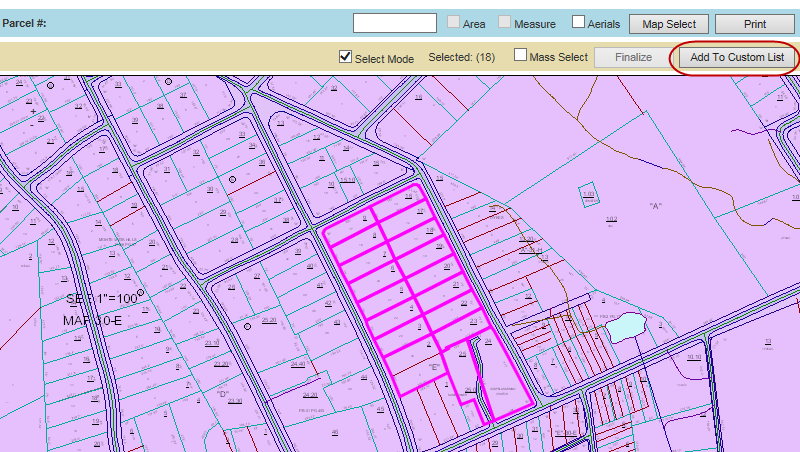
Use Map's Mass Select function to select parcels to be updated
Click Finalize, than add Selected Parcels to a Custom list
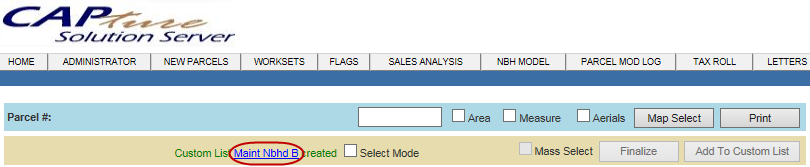
Select the Custom List hyperlink
Click Create Flag, fill out Flag information and then click Add
Click the Flags tab, select Parcels to Print by selecting the check box next to the parcel
Custom List Directly
Click the Custom list tab
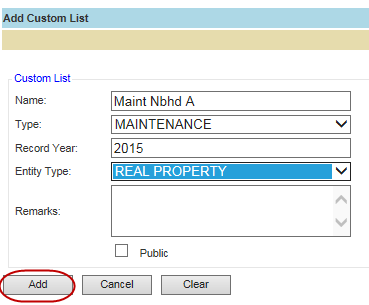
Click add Custom List or select an existing list
Enter information, Click Add
Click the Created List link
Add Parcels to the list by clicking Add
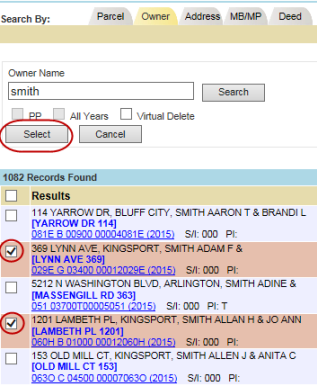
Search for parcels
Check the parcels you wish to add and Click select
Parcels will now show on list. Click Go if parcels do not appear.
Following Steps 5 and 6 of Using Maps
![]()
Confidential | Copyright © 2001-2015 E-Ring, Inc.