![]()
![]()
Rendition Schedule Printing
This Quick Help is designed to teach the user to create Custom Lists/Batches in order to print Personal Property Renditions to send to the taxpayers. Once the user receives the marked copy from the taxpayer, the user is then able to mark the rendition as returned and regenerate the items to the correct depreciation schedule.
1. Log into Capture
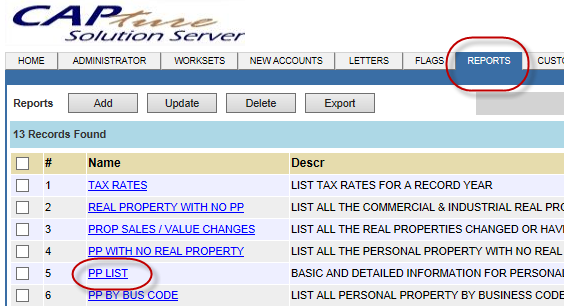
2. Click on the Reports tab
3. Click on the PP List hyperlink
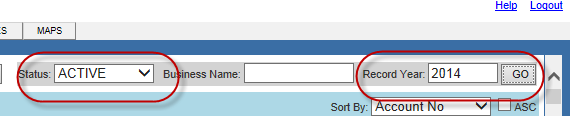
4. Select the appropriate Status from the drop-down
5. Enter Business Name if applicable
6. Type in the record year and click Go
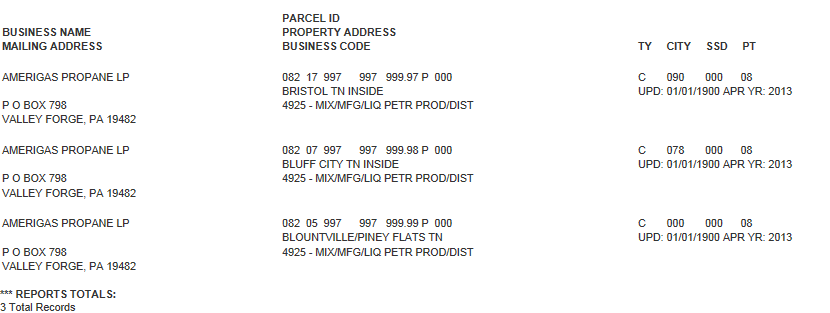
7. Click Print Basic to print a basic list

8. Click Print Details to print a more detailed list
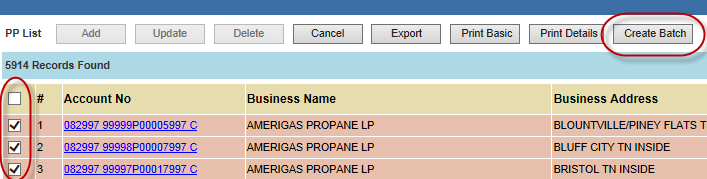
9. Put a check in the box next to the desired accounts and click the Create Batch button
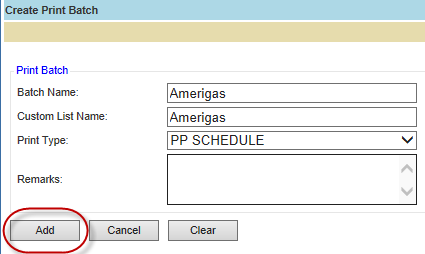
10. Enter the Batch Name (The Custom List Name will automatically populate with the batch name, but it can be manually changed if desired)
11. Select the Print Type from the dropdown
12. Enter any necessary Remarks
13. Click the Add button
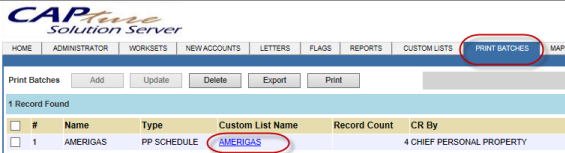
14. Click on the Print Batches tab
15. If the list needs to be edited click the Custom List Name hyperlink
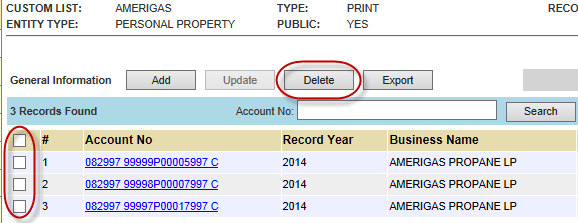
16. To see the accounts on the list click Go

17. To delete an account from the list place a check in the box next to the account to be deleted and click Delete
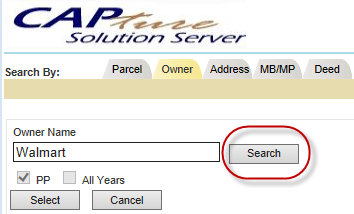
18. To add an account click Add
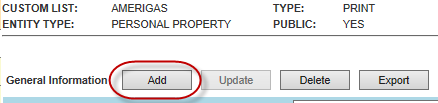
19. Fill out the necessary information and click Search
20. Place a check next to the account to be added and click Select
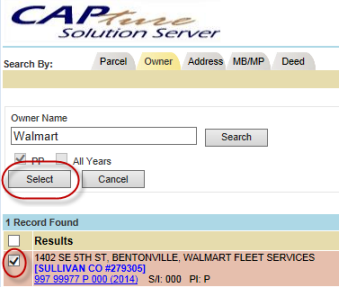
21. The account will be added to the list
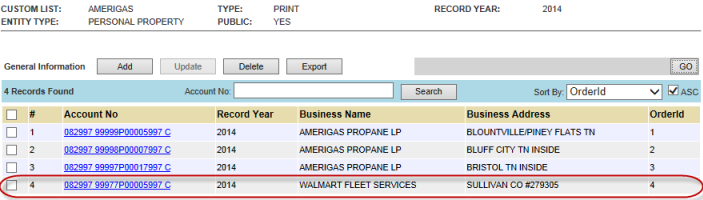
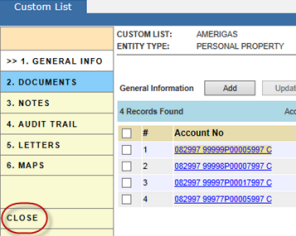
22. To edit an account on the list click the Account No hyperlink
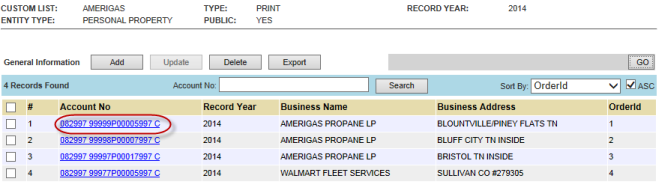
23. When the account opens, update as needed
24. When finished updating click Close to go back to the edit Custom List screen
25. Click Close to go back to the Print Batches screen
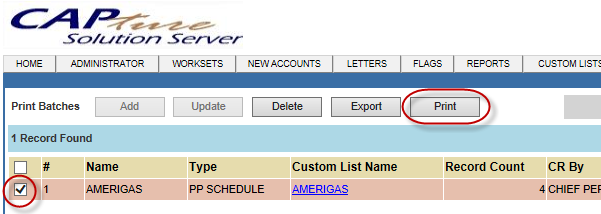
26. Place a check in the box next to the batch to be printed
27. Before clicking the Print button
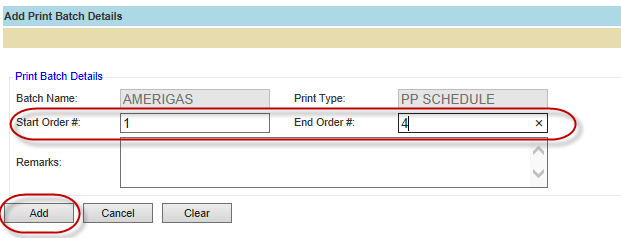
28. Enter the Start Order #, the End Order #, and any necessary remarks
After the test print is complete you will have to go back to the Print Batches screen and follow steps 23-26 once more (skipping the test print)
30. The batch will print
![]()
Confidential | Copyright © 2001-2015 E-Ring, Inc.