![]()
![]()
Creating a Sketch
Users can create new sketches for new buildings or buildings that were previously not sketched. Sketches are used to automatically calculate square footage for areas and appendages. This Quick Help shows users how to create sketches in the Capture Sketch Module.
1. Check out the parcel to be sketched

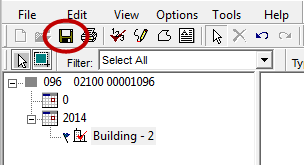
2. Click the building number that is to be sketched
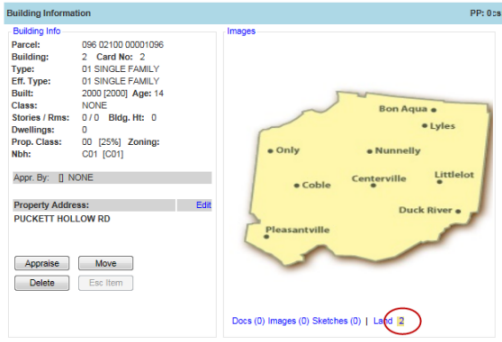
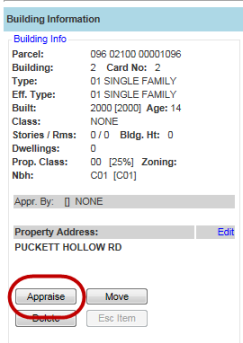
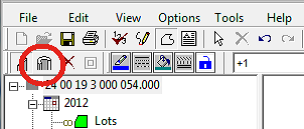
3. Click the Appraise button
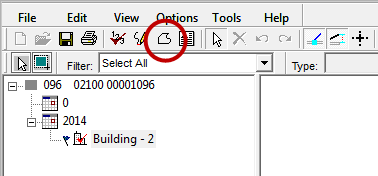
4. Click the define area button
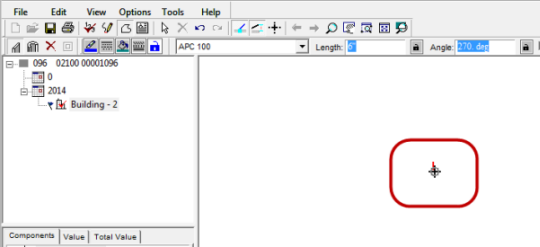
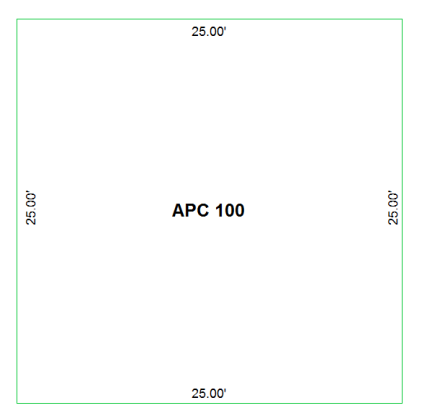
5. Click the starting point of the sketch
6. Press the Home key on the keyboard
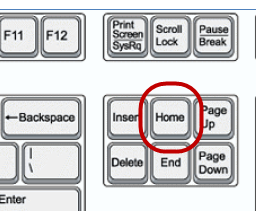
Note: Pressing the Home key will always return the cursor to the end of the last completed line segment. Always press Home after clicking or if the mouse may have been moved.
7. Enter the desired line length then press the arrow key in the appropriate direction to draw a line

8. Press Enter to set the line.

Note: The line length tags will automatically appear on the inside of the building if the sketch is drawn clockwise, however if the sketch is drawn counterclockwise, the line length tags will appear on the outside of the building.
Note: Click “J” on the keyboard to jump to the nearest end point of a sketch.
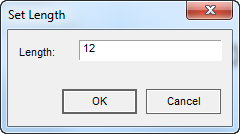
9. To enter exact angles and distances hit the “L” key on the keyboard.
10. Enter the length of the line and click OK.
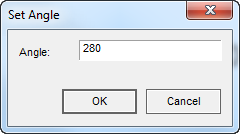
11. Enter the angle of the line and click OK
0/360 = Right
90 = Up
180 = left
270 = Down
All angles in between are acceptable.
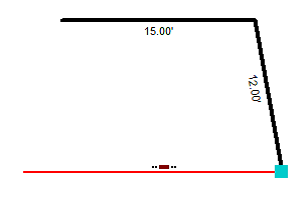
12. To create a curved line, select the Curved Wall tool.
13. Click the starting point, type the length and direction of the wall, and click Enter once.
14. Move the mouse up or down OR enter the Radius above to set the curvature of the line.
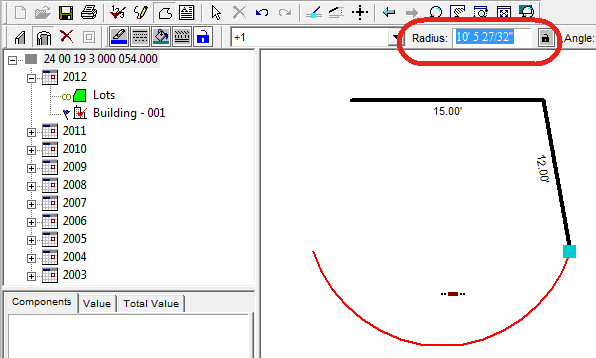
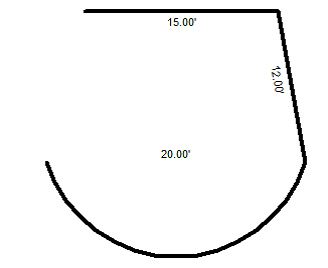
15. Press Enter to draw the curved line.
Note: If total area is incorrect due to the curved area, unfreeze the group, redraw the curve, and then freeze the group. The area does not recalculate until the group is frozen
16. Select the Straight Wall tool before continuing to draw.
17. Continue drawing line segments until the building section is complete. Press C on the keyboard to automatically draw the final line of an area.
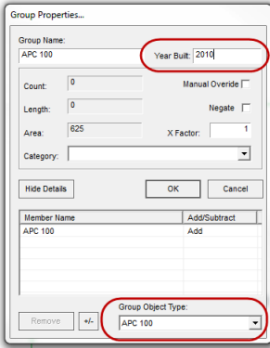
18. Type or select the appropriate Group Object Type and enter the Year Built.
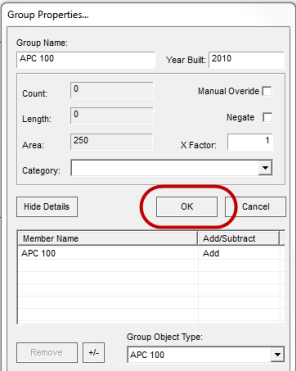
19. Click OK.
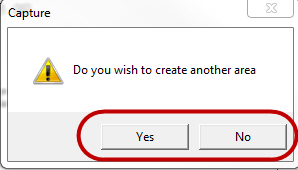
20. If there are more areas to sketch, click Yes. If not, click No.
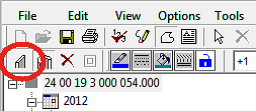
21. Click the Fit Tool to center the sketch on the screen

22. Use the mouse wheel to zoom in or out on the sketch
23. Once all areas are sketched, save the sketch and close the module.
![]()
Confidential | Copyright © 2001-2015 E-Ring, Inc.