![]()
![]()
Splitting Parcels
Legal changes may exist that require the user to split parcels into multiple smaller parcels. To split a parcel, open the Deed Dashboard, which provides a centralized location to perform a variety of deed related tasks. Not only can deed information be accessed but parcels can be searched to perform a split. This quick help will walk the user through splitting a parcel based on an incoming deed.
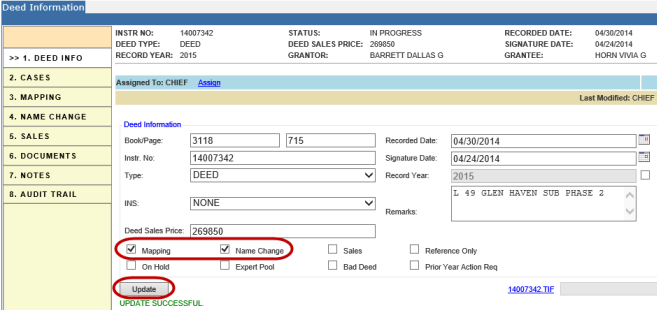
1. Open the Deed Information dashboard and select the parcel actions required by the deed then click Update.
2. Select Cases from the sidebar.

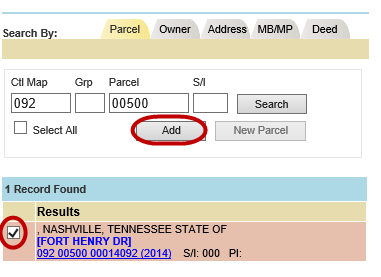
3. Search for a parcel to be split and add it to the Parcels Action list.
4. Check mark the parcel as Parent along with other changes need to be made (Legal Change: Modify) and click Update.

5. Enter a parcel number for the parcel which will be created and click New Parcel.
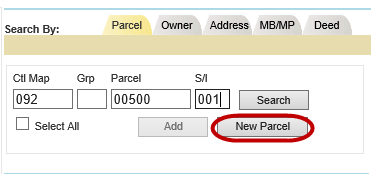
Note: If there is a PI on the parent parcel, then all new parcels will have the parent parcel's PI. |
6. In the Parcels Action section check New will be automatically checked and check mark Name Change for the new parcel and Parent and Modify is checked for the old parcel from earlier.

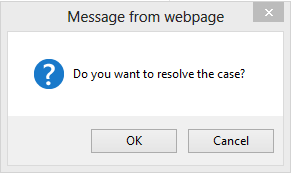
7. Click Update then check the RESOLVED checkbox and confirm.

8. Select Mapping from the sidebar.

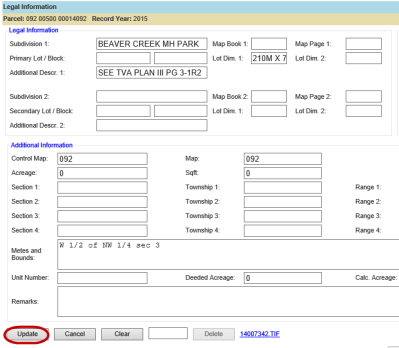
9. For the old parcel click the Legal link under Modify.

10. On the Legal Description screen make all necessary changes and click Update.
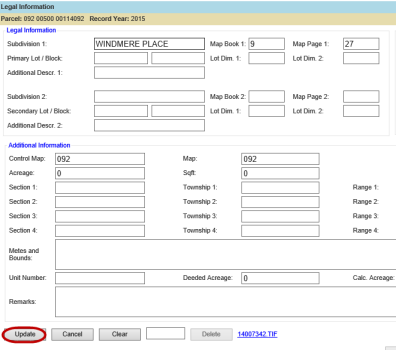
11. For the new parcel click the Legal link under New.

12. On the Legal Description screen make all necessary changes and click Update.
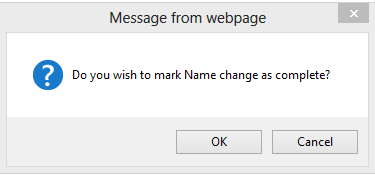
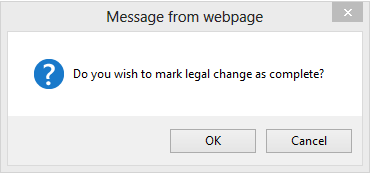
13. Check the Mapping checkbox to show that all legal changes have been completed and confirm.

14. Select Name Change from the sidebar.
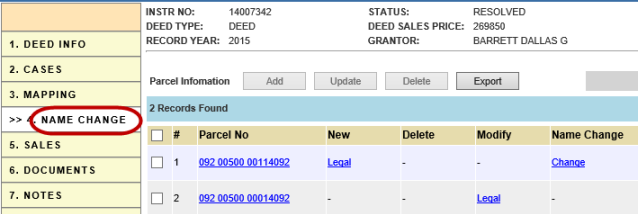
15. Select the Change link under Name Change.

16. Review and edit the Name Change screen as needed then click Update.
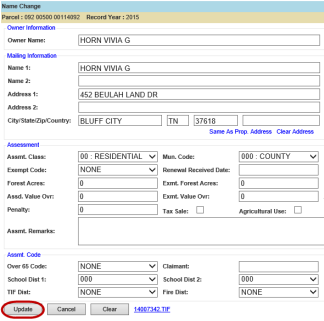
17. Check the Name Change checkbox to show that all name changes have been completed and confirm.

