![]()
![]()
Batch Printing
Batches are created to print large groups of items simultaneously. Batch Printing is useful when printing pre-programmed items such as Rendition Schedules as it allows the user to print a schedule for each account simultaneously rather than individually saving the user time.
1. Log into Capture
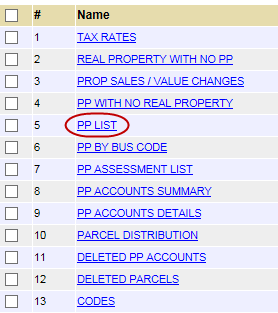
2. Click on the Reports tab

3. Click on the PP List hyperlink
4. Enter appropriate information and click Go

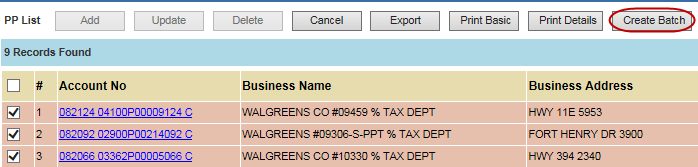
5. Click Create Batch to create a batch for all records or place a check next to the specific records to add to the batch and click Create Batch
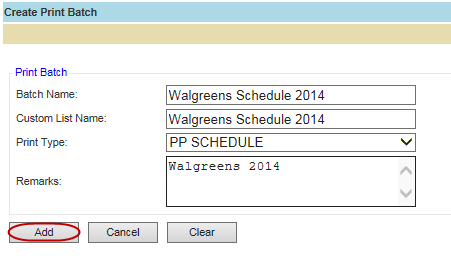
6. Enter the Batch Name (The Custom List Name will automatically populate with the batch name, but it can be manually changed if desired)
7. Select the Print Type from the dropdown
8. Enter any necessary Remarks and click Add
9. The batch has been created
10. Click on the Print Batches tab

11. Click the Custom List Name hyperlink to make any changes to the list

Note: Any changes made on the Custom List will affect the Batch |
12. Place a check in the box next to the batch to be printed
13. Before clicking the Print button
a. Be sure the correct printer is applied as the default printer (**instructions below)
b. Be sure the page size is set to Legal
c. There will not be an opportunity to change these items after clicking Print

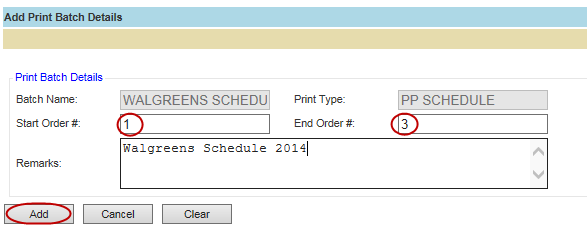
14. Enter the Start Order #, the End Order #, and any necessary remarks
a. Be sure to test a small group to ensure the print is correct before printing the entire batch
b. You will have to know the exact number of accounts in the batch in order to fill out the End Order #
c. After the test print is complete you will have to go back to the Print Batches screen and follow the aforementioned steps once more
15. Click Add
16. The batch will print
![]()
Confidential | Copyright © 2001-2015 E-Ring, Inc.