![]()
![]()
Rendition Schedule Printing
Defining Rendition Schedule Printing
This Help is designed to teach the user to create Custom Lists/Batches in order to print Personal Property Renditions to send to the taxpayers. Once the user receives the marked copy from the taxpayer, the user is then able to mark the rendition as received and add, edit, delete, or regenerate the items to the correct depreciation schedule.
Rendition Schedule Printing in Capture

To Mass Print Rendition Schedules
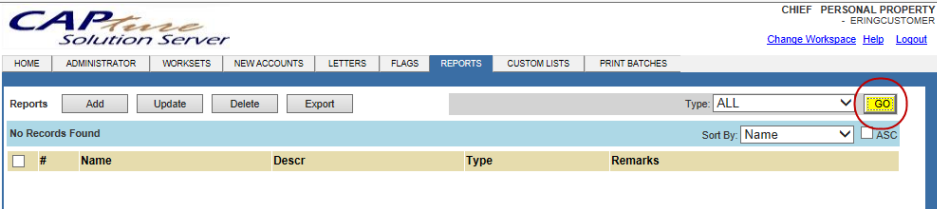
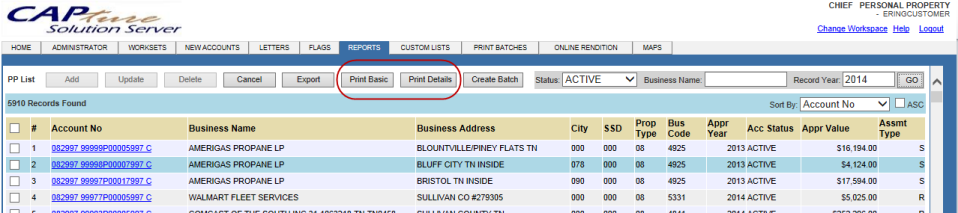
Click on the Reports tab on the Personal Property home screen
Click Go
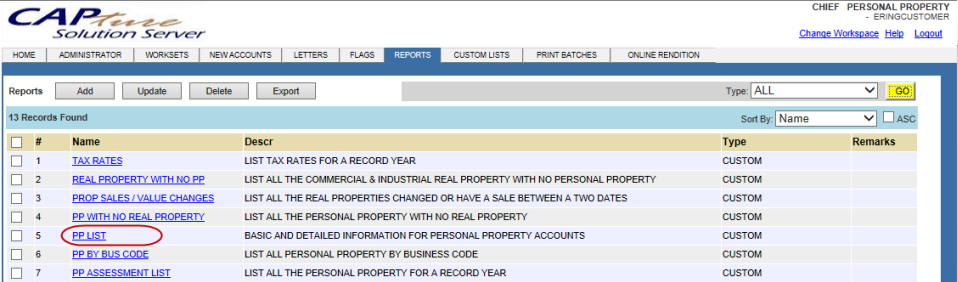
Click on the PP List hyperlink
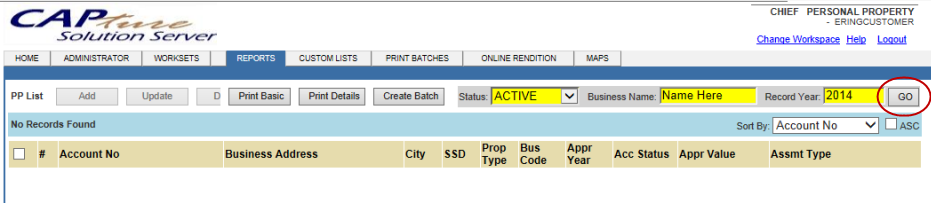
Select the appropriate Status from the drop down
To print for an individual business enter the Business Name and Record Year, click Go
Place a check in the box next to the desired accounts (place a check in the top box to select all)
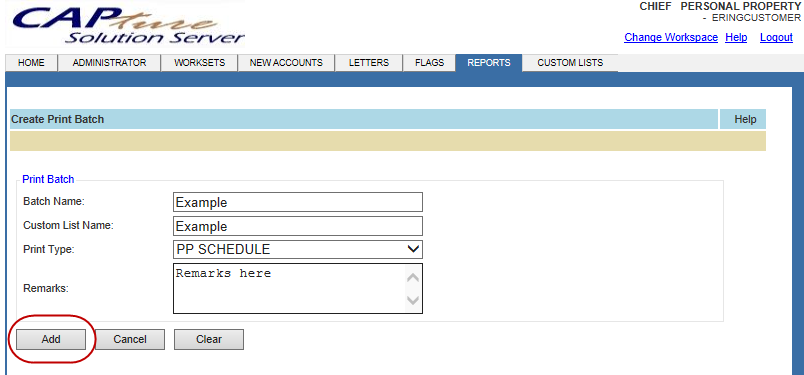
Click Create Batch, enter the Batch Name (the Custom List Name can be manually updated), select the Print Type, enter necessary Remarks,
Click Add
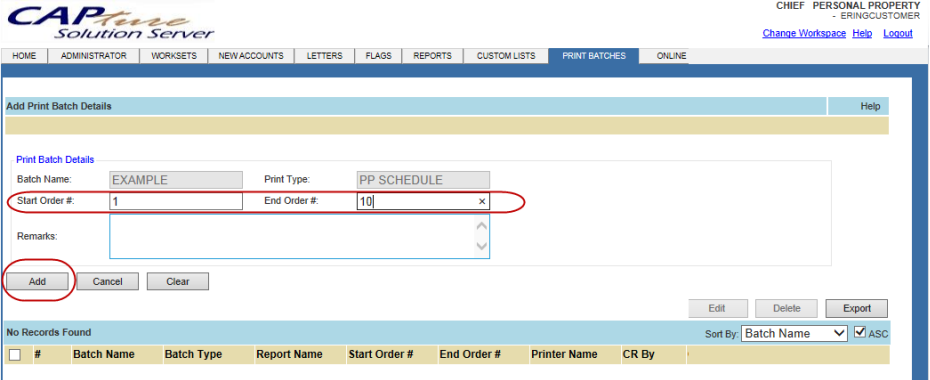
Click on the Print Batches tab on the home screen, enter Record Year, click Go
Place a check mark in the batch to be printed, click Print
Enter the Start Order #, the End Order #, and any necessary Remarks, click Add
The rendition schedules will print.
Note: Print Basic and Print Details allow for the list information to be printed. |
Note: To edit accounts in the batch, click on the Custom List Name hyperlink, click Go, accounts may be added, updated, or deleted. |
Note: Be sure to test a small group before printing the entire batch to ensure all information and formatting is correct. See Quick Help Rendition Schedule Processing for information on changing/updating default printers. |
![]()
Confidential | Copyright © 2001-2015 E-Ring, Inc.